If you search “garter stitch knitting,” you’ll mostly find beginner tutorials.
But if you’re a brand getting ready to sample or place a PO, you’re asking a different question:
When is garter stitch the right structure for a sellable knitwear product—and what do you need to specify so the sample you approve is the bulk you receive?
This guide is written for decision-stage product teams at indie labels: small budgets, tight calendars, and zero appetite for endless “revise and re-knit” loops.
Key Takeaway: Garter stitch is a structure choice, not a decoration. It changes edge behavior, thickness, handfeel, and how a factory has to knit the panel—so you need to spec it intentionally.
What garter stitch is (for product development)
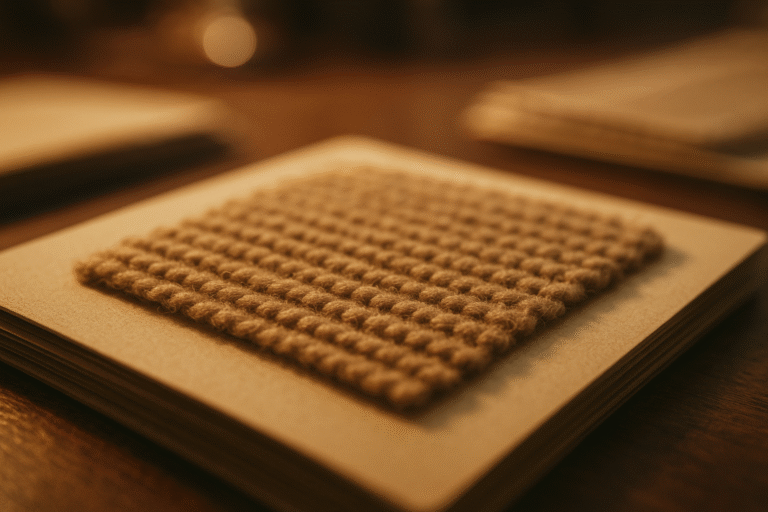
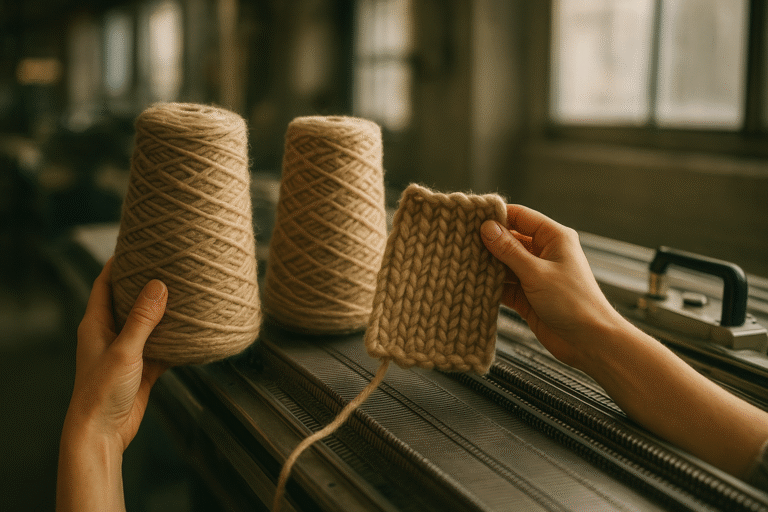
At a high level, garter stitch is a weft-knit structure with pronounced horizontal ridges and a reversible look.
In other words, it creates a distinctive garter stitch fabric surface—useful when your product needs texture and stability, not a smooth jersey face.
For product development, what matters isn’t “how to knit it,” but what the structure does:
It tends to lie flatter at edges than unbalanced single-jersey/stockinette panels.
It presents texture on both sides, which is useful when the wrong side may show (scarves, shawls, unlined collars, rolled hems, reversible knitwear).
It usually builds a thicker, more cushioned handfeel than plain jersey.
If you’re mapping stitch options across your line, keep your stitch library close—Knitwear.io’s knitwear stitch types (structure library) is a good “what else could we use?” reference.
Why brands choose garter stitch in real products
Garter stitch is rarely the “default” structure for full garments because it can be slower and more complex to produce than plain jersey.
Brands still choose it when they need one (or more) of these outcomes:
1) Flat-laying edges without heavy finishing
Single jersey (stockinette) likes to curl. One reason brands choose garter stitch is simple: garter stitch edges not curling (or curling far less) compared with stockinette—so the panel behaves without relying on aggressive blocking, heavy seam allowances, or bulky borders.
A clear technical explanation comes from TECHknitting’s breakdown of why stockinette curls (stitch geometry explanation): unbalanced knit/purl geometry stores “pull” differently on each face, and the fabric rolls to relieve it.
Garter stitch is more balanced—so it usually cooperates.
2) Reversibility (the “wrong side” is part of the design)
If your product will flip, fold, drape, or show its underside—scarves, wraps, shawl collars, open-front cardigans—garter stitch gives you a consistent aesthetic without lining.
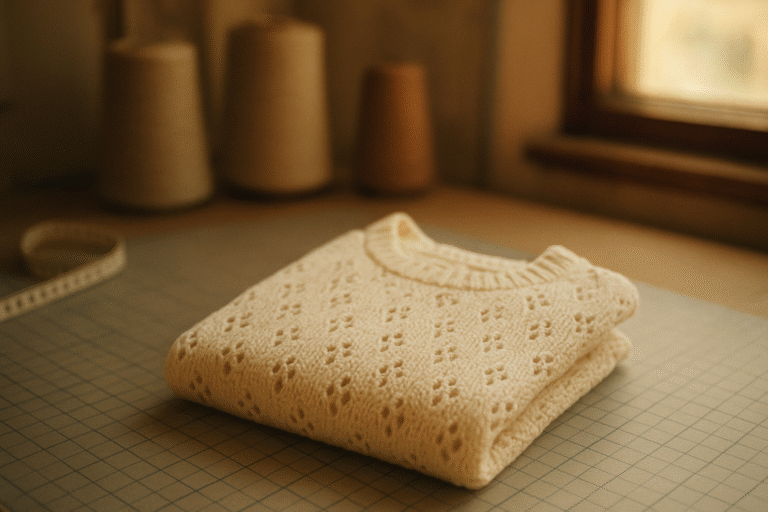
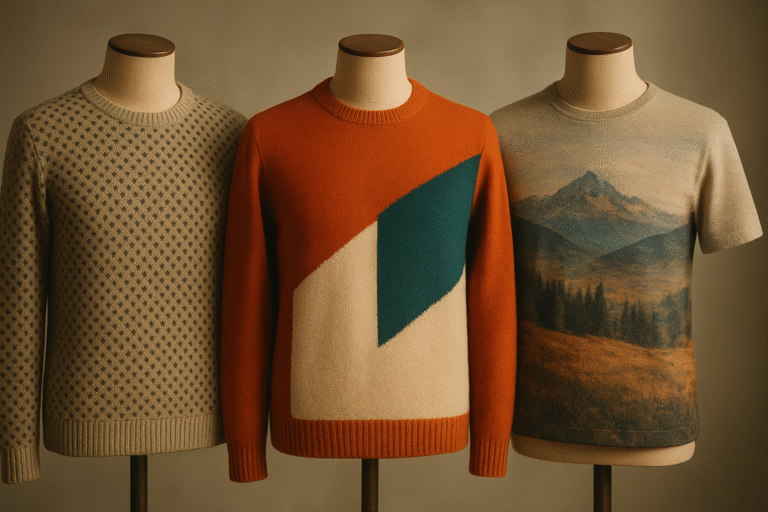
3) Texture you can feel (and see) at a distance
Garter stitch is valued for its ridged texture and thickness in purl/links-links style structures (useful when you want a hand-knit look in production). A practical overview of garter-style machine approaches appears in O’Jolly’s note on garter stitch on a knitting machine (via transfers).
That matters for DTC brands selling through images: texture is one of the few “tactile signals” you can transmit through product photography.
4) A controlled way to add thickness
Garter stitch can add bulk and warmth without going full cable/jacquard.
That’s useful when you need a transitional-weight knit (or when you want body for shape) but you’re trying to avoid the cost and risk of heavy yarns.
Garter stitch knitting fabric vs stockinette vs rib: what changes in spec and wear
If you’re choosing garter stitch, you’re usually choosing it instead of something simpler.
Here’s how to think about the trade-offs in a factory-ready way.
Garter stitch vs stockinette (single jersey)
Choose garter when:
Curling edges will ruin the silhouette (or force bulky finishes).
Both sides may show.
You want texture and a denser hand.
Avoid garter when:
You need a smooth, clean surface (for minimal looks, embroidery/print, or lightweight drape).
You’re extremely cost-sensitive and the structure adds too much knitting time.
Garter stitch vs rib
Choose garter when:
You want texture + flat behavior without the strong “vertical rib” visual.
The panel needs to read the same on both sides.
Choose rib when:
You need elasticity and recovery as a functional requirement (cuffs, hems that must grip, necklines).
For a solid baseline on the “big three” structures (rib/purl/jersey), use Knitwear.io’s Rib, Purl, and Jersey Knit Fundamentals and treat garter as a deliberate deviation from those defaults.
Pro Tip: Don’t decide stitch structure from a flat sketch. Decide from (1) how edges must behave on-body, (2) whether the wrong side shows, and (3) how much thickness you can afford in the target gauge.
How garter stitch is made on knitting machines (and what it costs you)
In industrial knitting, the question isn’t “can you knit garter stitch?” It’s how your supplier will knit it, because that affects speed, cost, and consistency.
A good way to phrase this in your tech pack email is: “What’s your method for knitting machine garter stitch—bed transfers, links-links, or another purl-based structure that matches the look?”
One common method on flat machines is:
Knit a row on one bed
Transfer stitches to the opposite bed
Knit the next row
Repeat
O’Jolly describes this machine approach in plain language in their post on garter stitch on a knitting machine (via transfers).
Why this matters for your sampling budget
Transfers add operations. More operations usually means:
longer knitting time per panel
more programming complexity
higher sensitivity to yarn behavior and tension
That doesn’t mean garter stitch is “too expensive.” It means you should spec it where it earns its keep.
Related structure: links-links (purl fabrics)
Depending on your supplier’s machine set and programming approach, you’ll also hear “links-links” discussed in the same neighborhood as purl/garter-like outcomes.
CottonWorks defines a links-links machine as equipment producing purl or fancy purl fabrics, often using transfers.
And Kniterate summarizes links-links fabric properties—like no rolling tendency and same appearance on both sides—in their Links-links support note.
If you want a factory-oriented view, Knitwear.io also has a practical piece on links-links knitwear you can reference when you’re aligning terminology with your supplier.
Design checklist: when garter stitch is the right call
Use this before you decide “garter everywhere” or “garter as an accent.”
Functional fit
The product needs flat-laying edges without heavy borders.
The product must be reversible or will regularly show its underside.
The design benefits from texture that reads on camera.
Aesthetic intent
The ridged surface is part of the design language (not a last-minute fix for curling).
The texture aligns with your brand’s handfeel story (cozy, crafted, substantial).
Cost and feasibility
You’re comfortable with the possibility of extra knitting time due to transfers/operations.
You’re willing to approve the structure from factory swatches (not just references).
⚠️ Warning: If you’re choosing garter stitch to “fix” curling, you may be solving the wrong problem. Sometimes the right fix is a better border, a different yarn, or a different structure in the body.
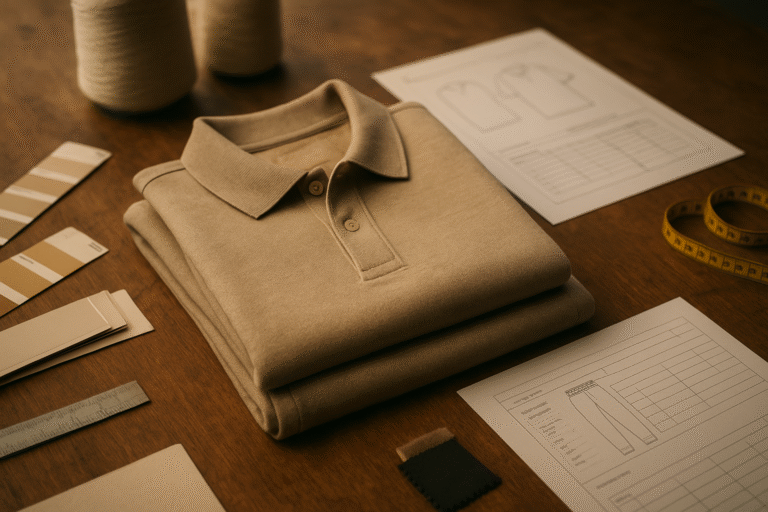
Sampling checklist: what to request (and what to measure)
Sampling is where most indie brands lose time—not because factories are uncooperative, but because the spec doesn’t tell them what “correct” looks like.
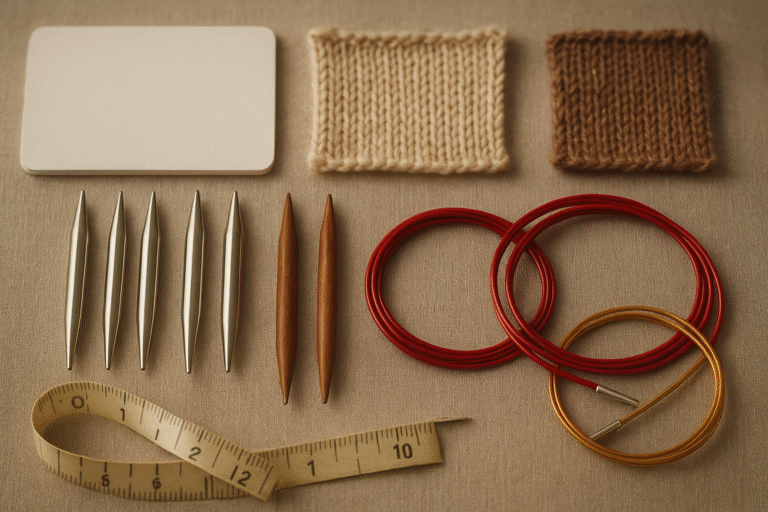
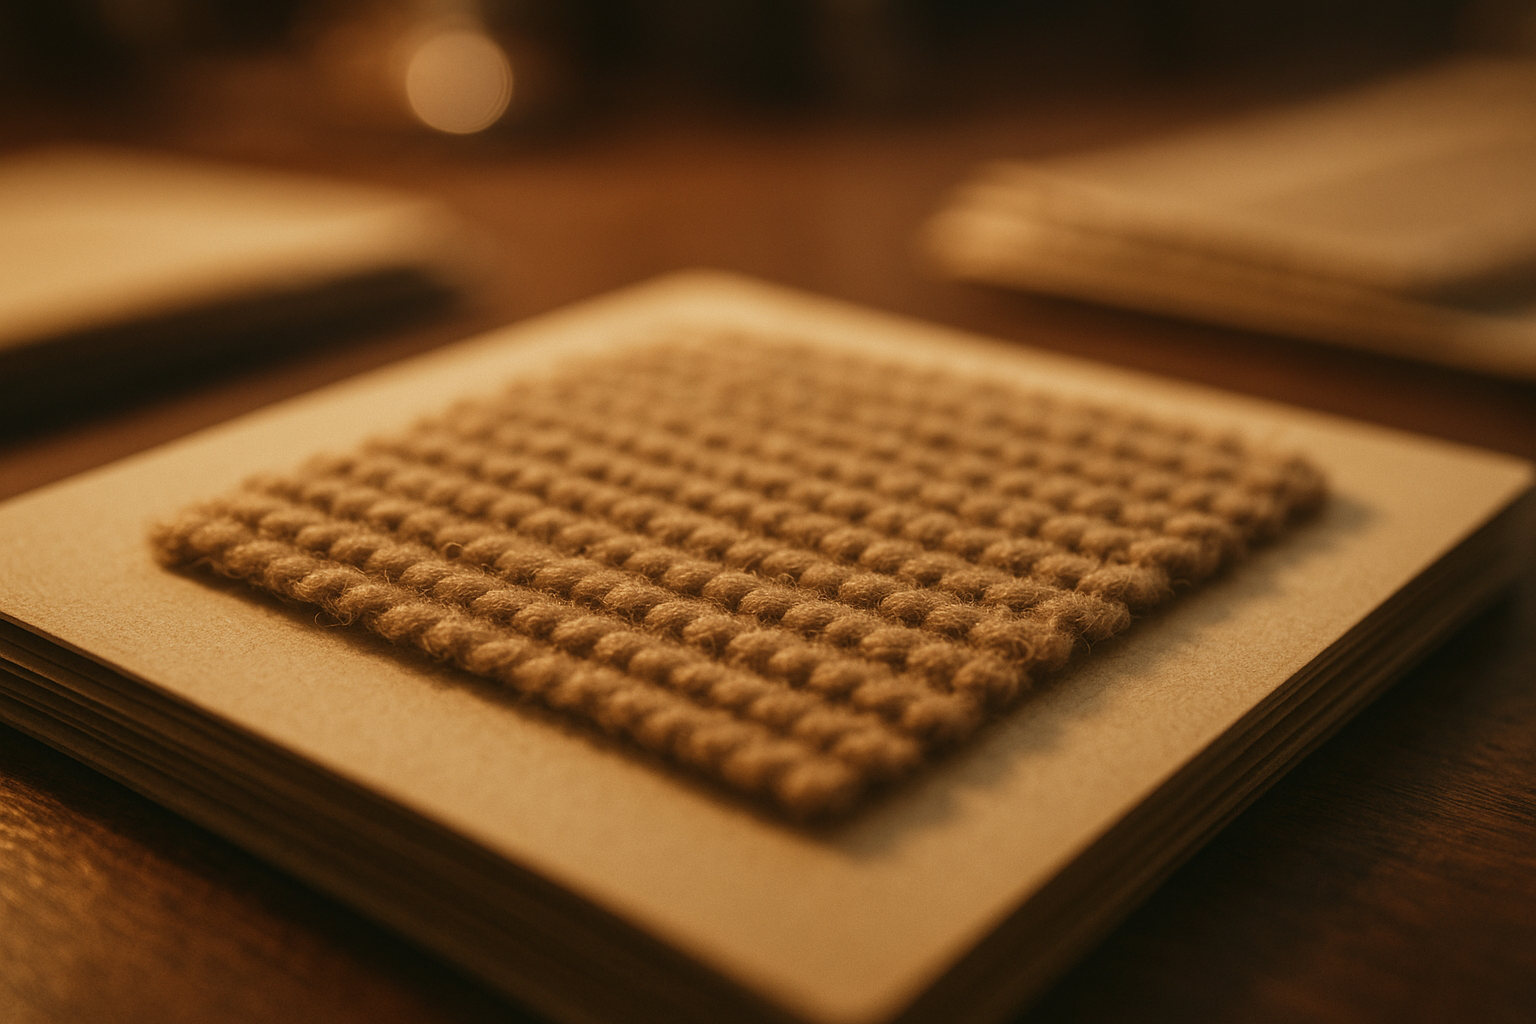
Swatches first (don’t skip this)
Request garment-yarn swatches in the target gauge before you approve the first full sample.
Request both relaxed and washed swatches.
Confirm whether the swatch is knitted on the same machine type intended for production.
Measurements that prevent rework
Define finished measurements after wash (not only “off the machine”).
Specify acceptable tolerances for width/length on the garter panel areas.
Identify the “critical zones” where growth or shrink will break fit (e.g., hem width, sleeve length).
Handfeel and appearance acceptance criteria
Confirm whether the ridges should be pronounced or subtle.
Specify whether the look must match on both sides (true reversibility).
Confirm color behavior: ridged textures can change how melange or heather yarns read in photos.
Bulk & QC checklist: control the failure modes
Garter stitch is generally cooperative at edges—but every structure has failure modes.
Dimensional stability (growth/shrink)
Run a wash test protocol consistent with your care label intent (cold vs warm, tumble vs flat dry).
Check length growth after hanging (scarves and long panels can creep).
Confirm that bulk production will follow the same finishing and washing method as the approved sample.
Pilling / abrasion sensitivity
Identify abrasion zones (underarm, side seams, cuff edges, bag straps).
Evaluate pilling risk with the chosen yarn (soft short-staple fibers may pill faster).
Consistency controls
Confirm yarn lot controls for bulk.
Confirm how your supplier will keep tension consistent across batches (especially if transfers are involved).
Confirm what happens if a panel is out of tolerance: re-knit policy vs repair.
Supplier questions to ask before you place a PO
Copy/paste these into your email or tech pack notes.
Structure and machine method
How will you produce garter stitch on your machines? Transfers between beds, a dedicated method, or an alternative structure that looks similar?
Which machine model will you use for sampling and for bulk? (Confirm they match.)
Can you provide a programming note or brief description so we can avoid miscommunication in revisions?
Spec and tolerances
What finished measurements do you recommend specifying for this structure (after wash and relax)?
What tolerances are realistic for this yarn + gauge + panel size?
Testing and finishing
What finishing steps will be applied (wash, steam, press), and will bulk match the approved sample?
What’s your recommended wash test to validate stability before bulk?
Cost and timeline clarity
Does garter stitch add measurable knitting time or waste vs jersey for this design? Where are the cost drivers?
What is the sampling timeline if we need 1–2 revisions? What do you need from us to keep it on schedule?
Key takeaways
Garter stitch is a decision-stage structure: it’s chosen for edge behavior, reversibility, texture, and controlled thickness.
The production method matters—many machine approaches rely on stitch transfers, which can affect cost and consistency.
You’ll save the most time by approving swatches + measurement rules before debating tiny visual differences on a full sample.
Next steps (soft CTA)
If you’re planning a garter-stitch panel (or a full garter-style piece) and want to reduce back-and-forth, Knitwear.io can help you turn the design intent into a factory-ready sampling plan—starting with the right swatches, tolerance checkpoints, and supplier questions.
Practical next move: request a small set of garter-style swatches in your target yarn and gauge, then align the “pass/fail” criteria before the first full prototype.