If you’ve ever tried to recreate a “1950s sweater girl” silhouette, you already know the frustration: the sweater looks right on a mood board, then the sample arrives and the neckline relaxes, the waist band doesn’t grip, or the whole thing loses the crisp, fitted look after one wash.
The good news: the 1950s look isn’t magic. It’s spec discipline.
This guide translates a 1950s-inspired women’s fitted sweater into factory-ready decisions—yarn, gauge (7–16GG), collar engineering, waistband control, and pattern feasibility (cable, jacquard, intarsia)—with checkpoints you can use to shorten sampling rounds. It’s written for small brands doing vintage-inspired knitwear manufacturing who need fast sampling, clear risk control, and a factory that will follow a repeatable process.
Key Takeaway: A “1950s style sweater” reads authentic when the proportions (short length, high crew neck, fitted waist band) are backed by engineering (rib spec, tension balance, finishing plan). Aesthetic intent without measurable specs is what causes most sampling loops.
Step 0: Translate the “1950s look” into measurable specs
Before you choose yarn or stitch, lock the silhouette in numbers your factory can execute.
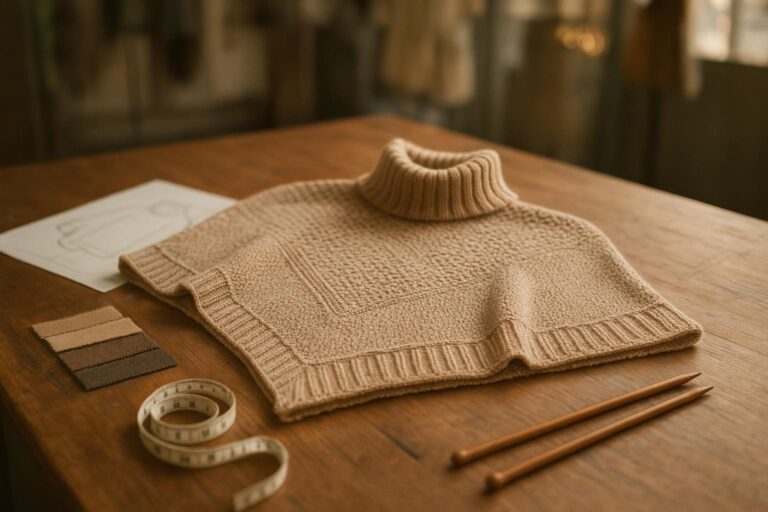
A classic fitted 1950s-inspired sweater is often described as slightly cropped/waist length, modest/high neckline, and a fitted waist—a look discussed in vintage fashion summaries like Retro Dee’s “Women’s Sweaters of the 50’s” (2019). Your goal is to convert that description into a spec table.
Inputs
Reference photos (front/back) and a fit note: “snug through bust and waist; not skin-tight.”
Target size + base body measurements.
Your fiber shortlist: cotton, wool, mohair, alpaca, cashmere.
Target gauge window: 7–16GG.
Outputs (what goes in the tech pack)
Body length: from high point shoulder (HPS) to hem, plus whether it sits at natural waist or slightly above.
Neck opening: finished circumference or width/height at key points.
Neck drop: front and back.
Waist band height: deeper rib bands tend to read more “period” than thin finishes.
Sleeve spec: short vs 3/4 vs long (and bicep ease—this affects the fitted read).
Ease targets: bust, waist, hem.
Done when
A factory can draft a pattern without guessing what “vintage” means.
What this means for you: if you don’t define ease and neck opening early, the factory will “normalize” it for modern comfort—and you’ll lose the vintage silhouette even with the right yarn.
Step 1: Choose yarn + gauge (7–16GG) for the right hand-feel and recovery
Gauge (GG) is the knitting machine’s needle density. Higher GG generally means a finer knit; lower GG generally means a chunkier knit.
For a fitted 1950s-inspired sweater, you’re usually chasing:
a clean surface (so the silhouette reads crisp)
enough recovery so it doesn’t bag out
comfort against skin
Quick positioning of your 7–16GG range
7–9GG: more texture and weight; better for some cable looks, but can feel bulky for a fitted, tucked-in silhouette.
10–12GG: often the sweet spot for women’s fitted sweaters—structure without bulk.
14–16GG: fine and sleek; great for a polished “sweater set” vibe, but you must engineer recovery (especially in cotton).
Fiber trade-offs (the honest version)
Cotton: breathable, clean-looking, lower pilling risk, but less elastic recovery. You’ll rely on rib engineering, controlled tension, and finishing to keep it fitted.
Wool: natural bounce and recovery; easier to hold shape, but manage itch/hand-feel via yarn choice and finishing.
Cashmere: premium softness; can pill depending on yarn quality and construction—plan QC around pilling risk.
Mohair: halo effect and softness; changes surface definition (your “1950s crispness” becomes softer/romantic).
Alpaca: warmth and drape; can relax—again, recovery planning matters.
Inputs
Intended season and end-user care expectations (machine wash vs hand wash vs dry clean).
Preferred feel: crisp vs soft/halo.
Outputs
One primary yarn direction + a backup (in case the sample hand-feel misses).
Gauge target (e.g., “12GG base, rib engineered for recovery”).
Done when
You can state, in one sentence: “We’re using [fiber] at [GG] because it gives [surface + recovery] for a fitted silhouette.”
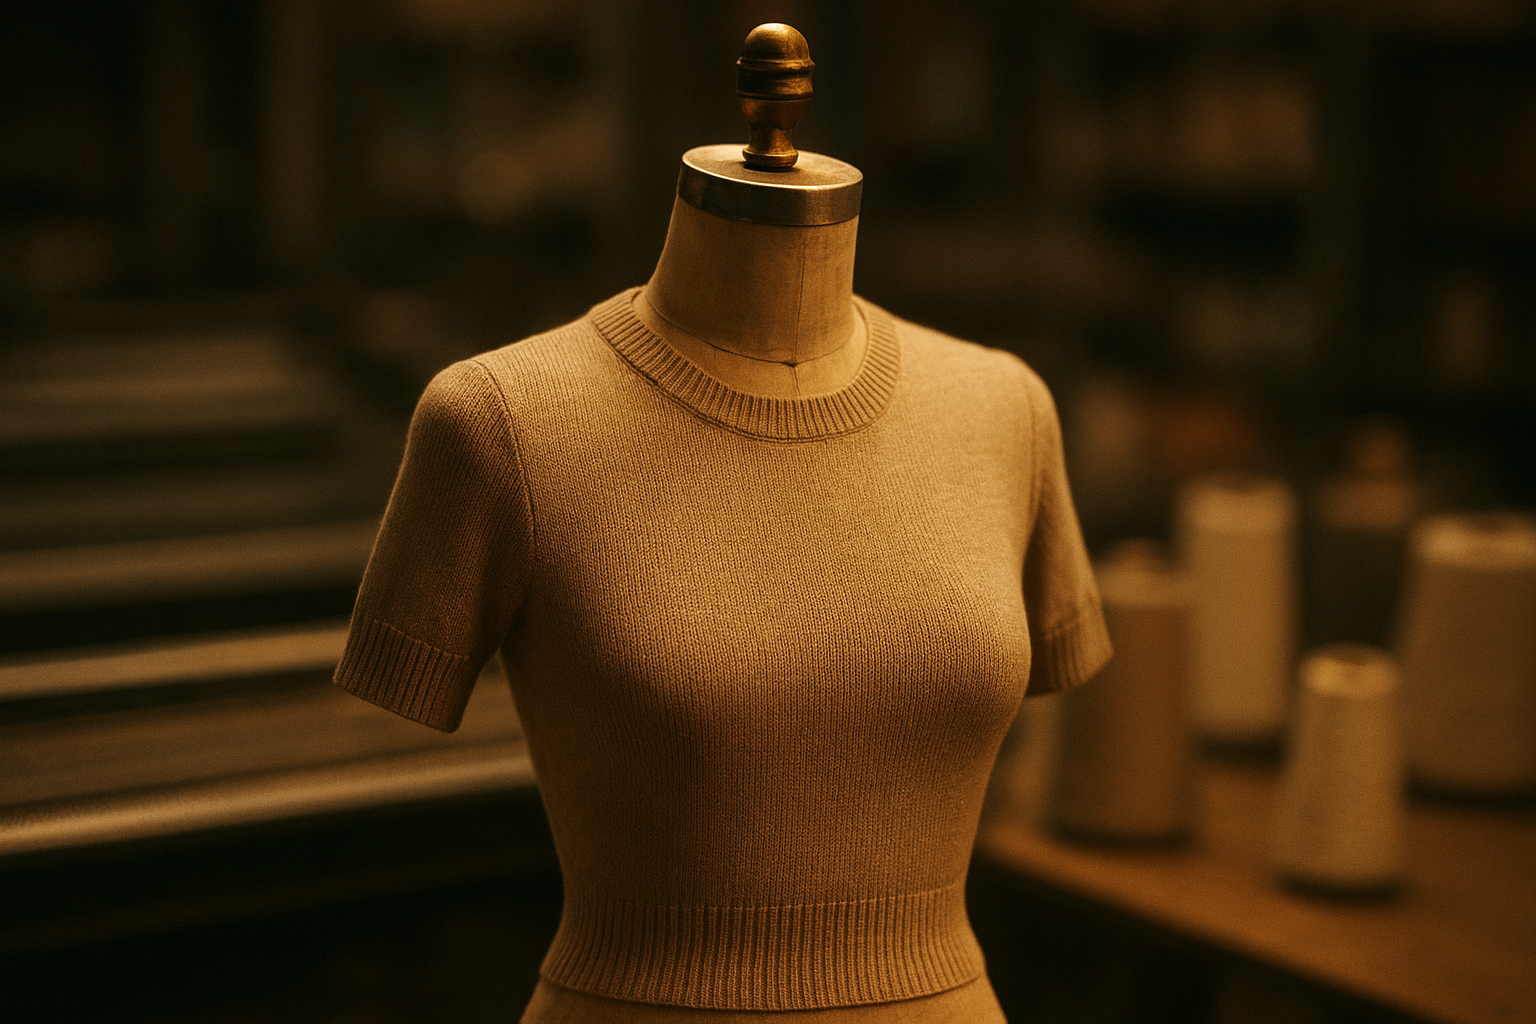
Step 2: Engineer the high crew neck so it doesn’t stretch out
The neckline is where a fitted sweater most often fails—because it’s repeatedly pulled over the head and stressed at the join.
Two manufacturing terms matter here:
Fully fashioned shaping: shaping is built on the machine (decreases/increases), instead of cutting fabric pieces.
Linking: a stitch-by-stitch joining method used in sweater assembly.
A crew neck that reads clean and vintage is usually a combination of:
the right rib structure
stable joining
controlled finishing (measure after finishing, not off the machine)
Collar types you may use (and how they change the look)
Even if your “hero” style is a high crew neck, knowing the collar menu helps you keep a collection consistent:
Crew neck (ribbed): classic; holds shape when engineered correctly.
Tubular crew neck: smoother and flatter; can read more modern.
Mock neck: short stand collar; still works with a fitted waist band.
Turtleneck: higher collar; shifts away from the classic short-sleeve 1950s look but works for cold-season capsules.
Scoop / sweetheart: can be vintage, but changes comfort and grading constraints—treat as a separate pattern.
Inputs
Target neck opening comfort (tight vs easy pull-on).
Collar type + rib structure.
Outputs
Collar spec: rib type, rib height, and whether you’ll use recovery support (for example, spandex plating).
Joining expectation: smooth neckline join, no twisting, no rippling.
Done when
Your sample can be pulled on/off multiple times without obvious collar growth.
⚠️ Warning: Cotton at finer gauges (14–16GG) will often relax faster than wool. If you want a high crew neck that stays crisp, plan recovery support and confirm collar measurements after finishing.
1950s style sweater checkpoints: waist band, length, and fit stability
This is where the “1950s sweater silhouette” is won or lost: the sweater must sit at the waist, stay fitted, and return close to spec after wear.
The two failure modes to design against
Hem flipping: the band rolls or kicks outward.
Riding up: the sweater crawls upward with movement because the hem and body are fighting each other.
Hem flipping is often explained as a tension/fabric-volume problem at the transition between body fabric and band (see The Craft Sessions’ practical breakdown of why hems flip and how to reduce fabric volume). The factory translation is simple: control the transition tension and the band structure.
Inputs
Waist and high-hip measurements (where the band sits matters).
Band height preference (thin vs deep).
Outputs
Waist band spec: rib type, height, and target stretch/recovery.
Body-to-band note: “Band must lie flat after wash; no flare; no roll.”
Done when
After finishing and a short wear test, the band lies flat and the sweater returns close to spec.
What this means for you: a fitted sweater isn’t only “smaller measurements.” It’s controlled stretch where you want it (neck, waist), and stable fabric where you don’t.
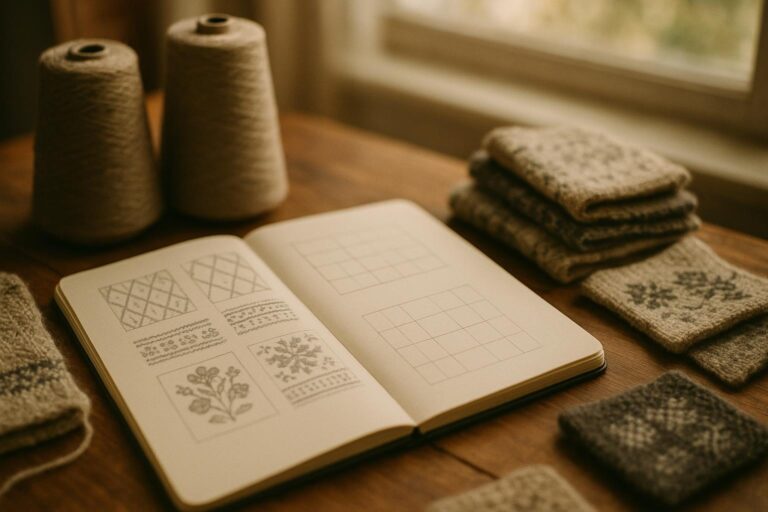
Step 4: Decide on stitch + pattern (cable vs jacquard vs intarsia)
Your stitch choice changes cost, risk, and how the fitted silhouette behaves—especially in 7–16GG.
Cable knit
Adds texture and thickness; can feel authentic in a heritage direction.
Risk: bulk at the waist; tension imbalance can distort fit.
Jacquard
Multi-color patterns with floats on the reverse side.
Risk: floats can snag; tension and weight balance can change drape.
Intarsia
Color-blocked motifs without floats on the back.
Risk: skilled programming and clean yarn management required; poor execution looks messy on the face.
Inputs
Pattern artwork (if applicable) with size and placement.
Color count and whether the motif must match across sizes.
Outputs
One “hero” stitch direction + a fallback.
Pattern feasibility notes: target gauge and risk areas (neckline, waist, armhole).
Done when
The pattern remains stable across sizes and doesn’t pull the sweater off-grain.
Step 5: Sampling workflow (how to get a correct first sample)
Most sampling delays aren’t aesthetic—they’re procedural. If you want a factory to hit a vintage-inspired fit fast, your tech pack has to match the real production workflow: knit → shape → join → finish → measure.
A practical reference for aligning your internal team (design + production) is the step-by-step workflow in the Sweater Manufacturing Guide from Knitwear.io (Xindi Knitwear).
What to include in your tech pack (minimum)
Spec table with tolerances (avoid “fit as sample” as the only instruction).
Collar spec: rib type, rib height, and recovery expectation.
Waist band spec: rib type, height, and “must lie flat” note.
Gauge target and stitch/pattern callouts.
Finishing plan: wash/blocking expectations and measurement timing (measure after finishing).
“Done when” checkpoints
Sample fits to spec after finishing, not straight off the machine.
Neck opening and waist band recover after a simple wear test.
Pattern placement is repeatable across sizes.
Step 6: Bulk QC checkpoints (what to verify before shipping)
Even at low MOQ, you need a QC rhythm that protects fit consistency.
Fit and measurement
Measure key points after finishing.
Confirm neckline and waist band measurements across the size run.
Stability and recovery
Quick wear test: pull-on/off multiple times and observe collar growth.
Waist band recovery: stretch and release; confirm it returns close to spec.
Surface and durability
Pilling risk review (fiber-dependent; agree on acceptable appearance range).
Colorwork review (if jacquard/intarsia): tension consistency and clean edges.
Seams and joining
Neat joining at neckline and armholes: no twisting, no obvious ridging.
Key takeaways
A “1950s style sweater” is mostly controlled by proportions + recovery: short length, high crew neck, fitted waist band—engineered to hold shape.
In 7–16GG, your best outcomes come from aligning fiber behavior with the silhouette you want (cotton needs more recovery planning; wool is naturally forgiving).
Neckline success is rarely about taste—it’s usually about rib spec, tension, joining quality, and measuring after finishing.
Cables, jacquard, and intarsia are all feasible—but each adds its own risk profile that must be managed in sampling.
Next steps
If you’re developing a low‑MOQ run of a vintage-inspired fitted sweater, start by sending:
your reference images + target measurements,
your fiber shortlist (cotton/wool/mohair/alpaca/cashmere),
your target gauge window (7–16GG),
any cable/jacquard/intarsia artwork.
If you want a crew neck-specific checklist (rib height, recovery options, and measurement checkpoints), use Knitwear.io’s guide on crew neck sweater manufacturing.
If your team needs a shared vocabulary for cables/jacquard/intarsia and rib structures, keep the knit stitch types reference as your internal link.
For a broader end-to-end view of what a factory needs from you (especially for fast sampling), see the Custom Knitwear Manufacturer Guide.