Fisherman knits (often used interchangeably with Aran and cable knit sweaters) are one of the easiest ways to add texture and “heritage” to a collection — and one of the fastest ways to accidentally make an outfit look bulky.
If you’re an indie brand building small-batch knitwear, styling isn’t just about Instagram. It’s upstream product strategy. The silhouettes you plan to shoot and sell (cropped vs. oversized, fitted vs. slouchy) determine yarn choices, gauge, measurements, and even your QA test plan.
Below is a practical, brand-owner-friendly guide: outfit formulas first, then the manufacturing translation so your styling direction doesn’t turn into sampling rework.
Key takeaways
For fisherman sweater styling, pick one “volume zone” (top or bottom) and keep the rest clean.
Keep the sweater as the single texture hero; avoid competing patterns.
Control bulk with one anchor point: cropped length, a half-tuck, or a clear waistline.
Translate styling into spec early: hem depth, neckline shape, sleeve volume, and stitch density.
Before bulk, confirm dimensional stability and pilling risk in the exact yarn + finish you’ll sell.
Fisherman sweater styling starts with texture (and bulk control)
Most people mean some combination of these features when they say “fisherman knit”:
Heavy texture (cables, honeycomb, rope-like twists)
Higher visual volume than a plain jersey sweater
Chunky warmth and a more structured handfeel
That texture is the point — but it also changes proportions. Cable patterns add depth and can make a garment look heavier even when the sweater isn’t oversized.
Key Takeaway: Treat fisherman knits like outerwear. If everything else is also “big,” the outfit loses shape.
If you’re deciding how textured your sweater should be (statement vs. subtle), start with an overview of knitwear stitch types and pick the texture level that matches your customer’s lifestyle (and your margin targets).
How to style a fisherman sweater: 6 outfit formulas that rarely fail
These are intentionally simple. The sweater is doing the work.
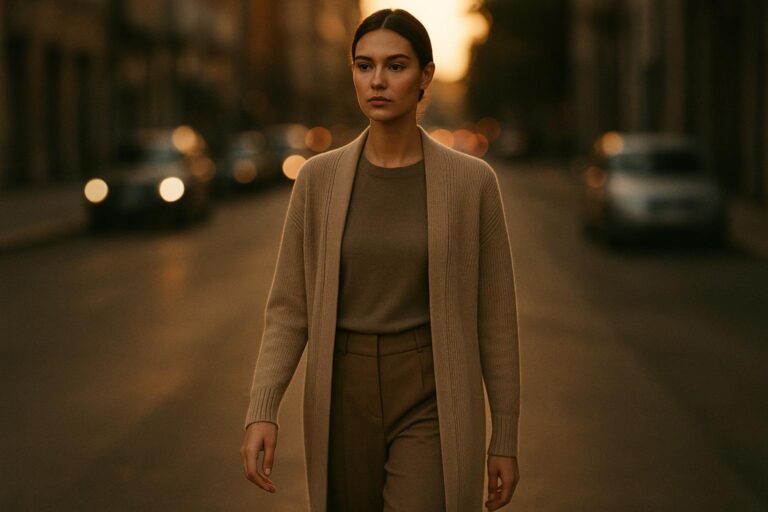
1) The “clean bottom” formula (most universal)
Fisherman sweater + slim/straight denim or trousers + simple footwear
Why it works: you get texture up top, clean lines below.
How to execute: keep the bottom solid and mid-to-dark toned if the sweater is light.
Failure mode: wide-leg + chunky sweater + chunky shoe = a silhouette that feels unintentional.
This balance shows up in many classic fisherman sweater outfit guides, including Paul James Knitwear’s fisherman sweater outfit formulas.
2) The “collar + crew neck” upgrade
Crew-neck fisherman sweater + crisp collar underneath + tailored pant
Why it works: the collar introduces structure near the face.
How to execute: choose a crew neck that leaves enough room for the collar without looking crowded.
Failure mode: a tight neckline + thick sweater + thick shirt = uncomfortable bulk.
This layering approach is common in Aran sweater guides — see SweaterShop’s layering ideas for Aran sweaters.
3) The “soft tailoring” formula
Fisherman sweater + tailored trousers + leather shoe/boot
Why it works: texture meets clean tailoring; it reads premium without trying too hard.
How to execute: keep the sweater pattern bold but the color palette calm.
Failure mode: too many statement pieces (busy trousers + heavy cables) fighting for attention.
4) The “skirt contrast” formula (great for shoots)
Chunky fisherman sweater + skirt with movement (A-line, midi, slip) + boot
Why it works: the skirt adds flow; the sweater adds structure.
How to execute: define the waist (belt, cropped length, or a deliberate tuck).
Failure mode: sweater hem hits the widest part of the hip with no waist definition.
5) The “monochrome texture” formula
Same-color family head-to-toe + fisherman knit as the texture change
Why it works: you get depth without visual clutter.
How to execute: vary materials (wool sweater + cotton twill pants) instead of adding prints.
Failure mode: identical tones with identical textures can look flat — add contrast via shoe or bag.
6) The “casual heritage” formula
Aran sweater + jeans + simple boot
Why it works: it matches the sweater’s casual DNA.
How to execute: don’t over-accessorize; let the cables be the statement.
Failure mode: forcing it into formal contexts where the heavy knit looks out of place.
Chunky knit sweater proportions: the “don’t look bulky” checklist
Use this as a fast pre-shoot (and pre-tech-pack) sanity check.
Choose one “volume zone.” If the sweater is oversized, keep the bottom clean. If the bottom is wide, keep the sweater shorter or more fitted.
Control the hem hit point. Hem at high hip, true waist, or intentionally long — avoid “mid-hip limbo.”
Pick a neckline that matches the styling story. Crew neck layers well; boat/wider necklines can visually widen shoulders; roll necks add volume around the face.
Keep the rest of the outfit low-pattern. Heavy cables already act like a print.
Use one waist definition tool. Cropped length, half-tuck, belt, or high-waist bottom. Pick one.
Pro Tip: If your product photography keeps looking “puffy,” it’s often not the sweater — it’s the stack: thick sweater + thick base layer + tight coat.
Translate styling into spec: silhouette, neckline, hem, and sleeves
This is where indie brands win (or lose) time.
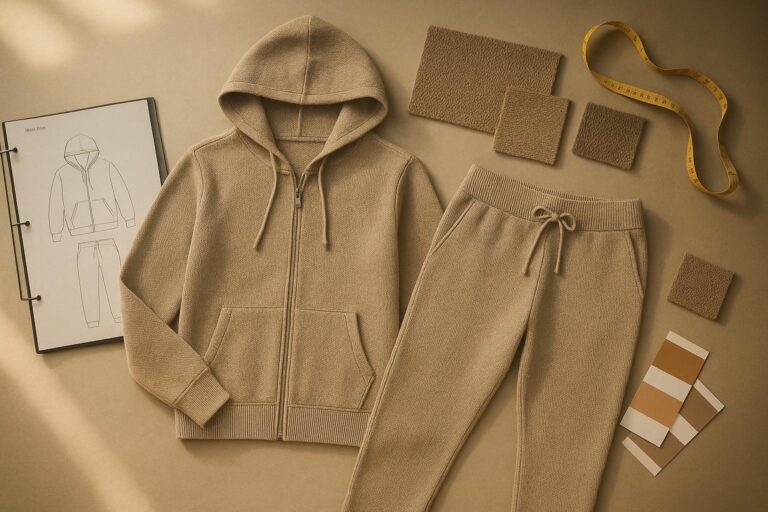
Best practice 1: Decide “cropped vs. classic vs. oversized” before you pick gauge
Why it matters: silhouette decides measurements, drape, and grading.
How to do it: write the intended styling formulas into the tech pack (e.g., “worn with high-waist denim; half-tuck optional”).
Failure mode: late silhouette changes force re-programming, re-costing, and re-sampling.
If you want a more repeatable process, Knitwear.io’s custom fit sizing and pattern guidance can help you lock measurement logic early.
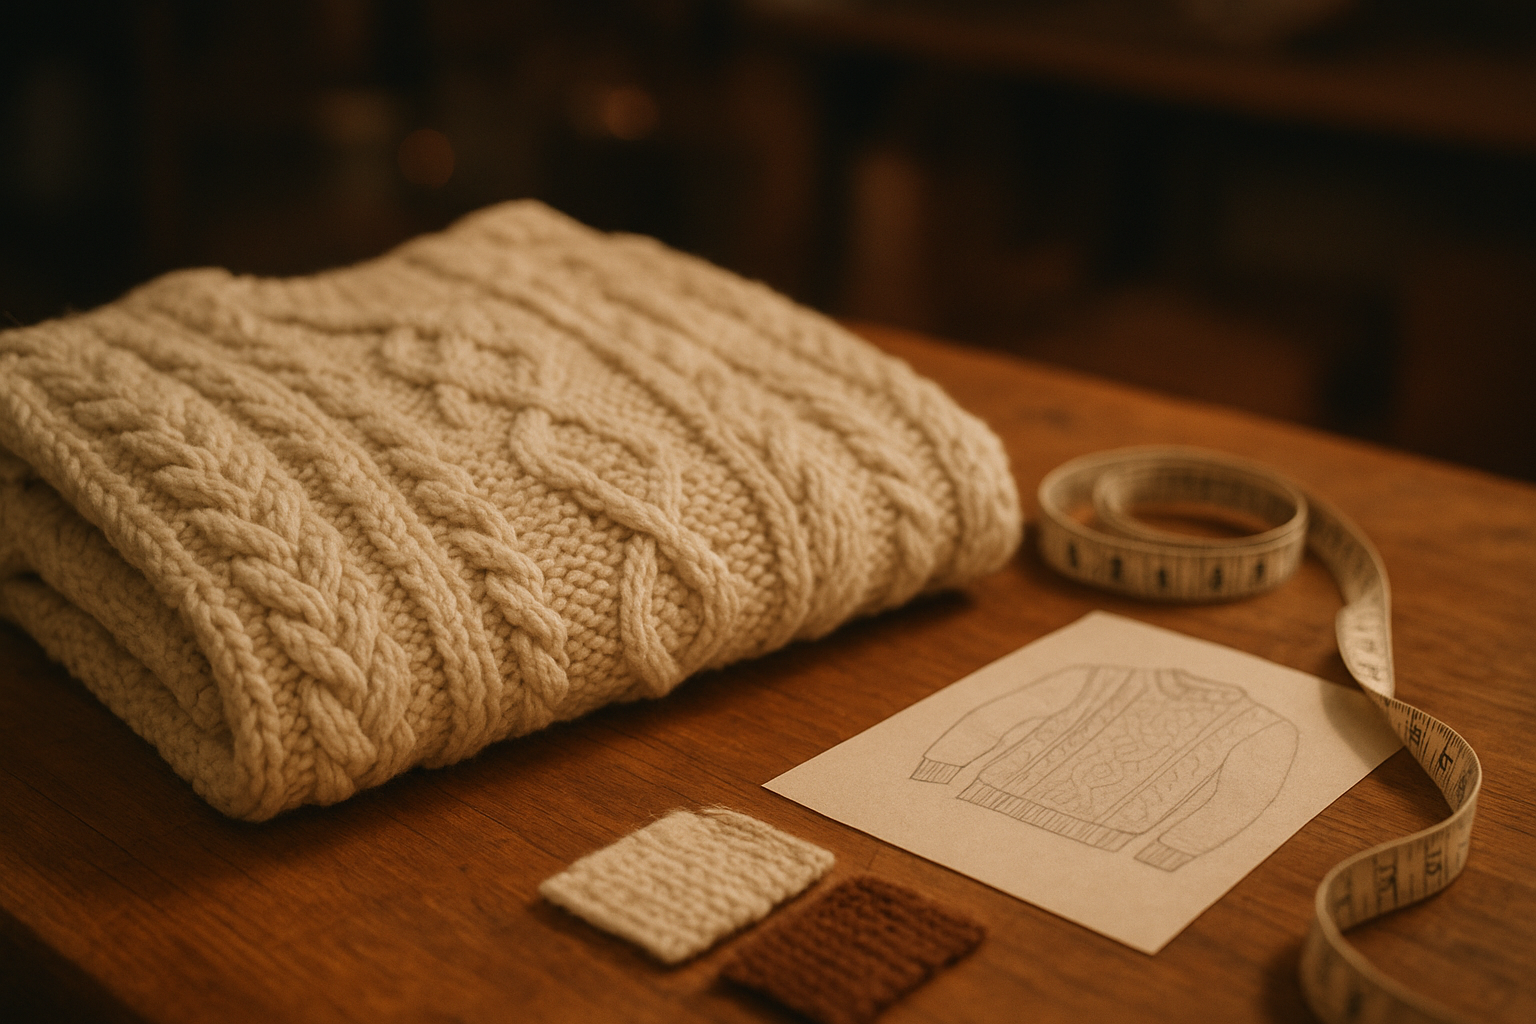
Best practice 2: Treat the hem and cuffs like “architecture,” not decoration
Why it matters: rib depth and recovery affect how the sweater sits (and how it photographs).
How to do it: define hem depth, rib structure, and target stretch/recovery behavior.
Failure mode: weak hem recovery = sweater “balloons” and loses the waist.
Best practice 3: Specify sleeve volume with the styling in mind
Why it matters: sleeve bulk changes the whole silhouette.
How to do it: decide whether sleeves should stack, blouson, or stay clean; then spec bicep width and cuff behavior accordingly.
Failure mode: sleeves look heavy in photos, even when the body fit is good.
Cable knit sweater styling is also a production decision
Cables aren’t free — in cost or in risk.
Best practice 4: Use texture density to control “visual weight”
Why it matters: more complex stitches read heavier, even at the same size.
How to do it: align cable panel size, spacing, and repeat with the intended customer (minimalist vs. heritage-maximal).
Failure mode: the sweater looks bulky on-body and hard to style, leading to higher returns.
Best practice 5: Don’t choose yarn only for softness — choose for stitch clarity and pilling risk
Why it matters: chunky, high-friction surfaces can pill, especially with low-twist or very fuzzy yarns.
How to do it: decide what you’re optimizing for:
crisp cable definition
soft halo / fuzzy look
durability for everyday wear
Failure mode: the sample looks great, but the bulk run pills quickly or loses cable definition.
Best practice 6: Plan cost around yarn consumption + machine time
Cable knitting often increases yarn usage and knitting time compared to plain structures. Knitwear.io explains the cost drivers and failure modes clearly in its Cable Knit Structure Guide for Knitwear Manufacturers.
Why it matters: your “hero chunky cable” can quietly eat margin.
How to do it: cost the style with realistic allowances and consider offering two texture tiers (statement vs. subtle).
Failure mode: you price it like a basic sweater, then scramble when sampling quotes come back.
For broader budgeting context, see Knitwear.io’s yarn cost drivers.
QA and testing: what to confirm before you bulk
If your customer loves fisherman sweaters, they’ll wear them hard. Tests aren’t bureaucracy — they’re brand protection.
Best practice 7: Confirm dimensional stability (before grading gets locked)
Why it matters: textured knits can shift width/length behavior after washing.
How to do it: run wash/after-wash measurements on your sample size first; then lock allowances.
Failure mode: you grade off an unstable base and every size drifts.
Best practice 8: Stress-test pilling risk in the exact yarn + finish
Why it matters: pilling complaints destroy repeat purchase.
How to do it: choose your pilling standard internally and stick to it; compare yarn options on the same test.
Failure mode: you “approve by handfeel” and miss real wear behavior.
Best practice 9: Check cable definition consistency across panels
Why it matters: cables must be even to look premium.
How to do it: evaluate cable sharpness, symmetry, and alignment (especially center-front panels).
Failure mode: the garment looks cheap in photos because the texture is uneven.
Aran sweater outfit ideas: a factory-ready “styling to spec” mini-template
If you’re building a fisherman/Aran-style sweater for a small-batch drop, reduce sampling loops by treating styling as a spec input.
Copy/paste this into your tech pack notes:
Hero outfit formula (pick one): clean bottom / collar + crew / soft tailoring / skirt contrast / monochrome
Target silhouette: cropped / classic / oversized
Neckline: crew / boat / roll
Sleeve: clean / stacked / blouson
Texture density: subtle / statement
Risk checks: dimensional stability + pilling + cable consistency
Next steps
Choose one hero styling formula from the list above.
Translate it into specs (hem hit point, neckline, sleeve volume, texture density).
Ask your manufacturing partner to sanity-check gauge + yarn + measurements + test plan against that styling story.
If you need a second set of eyes, Xindi Knitwear (Knitwear.io) can help you pressure-test feasibility before you commit — especially when the design involves dense cables, strict delivery windows, and low MOQs.