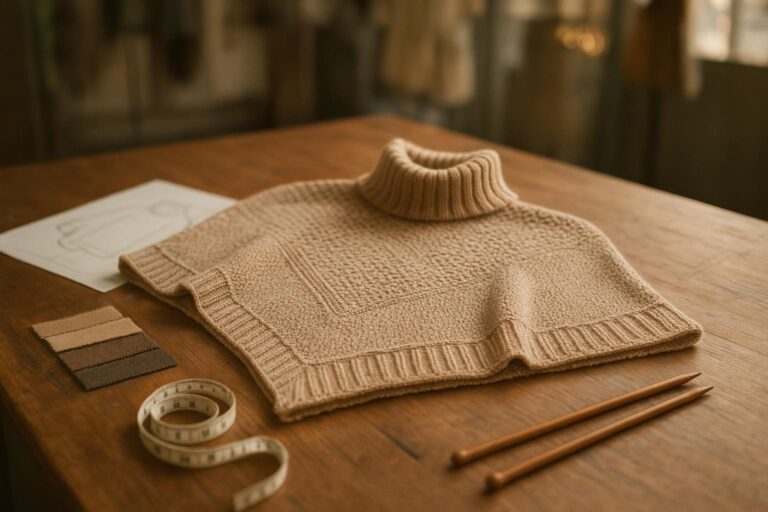
Pointelle is one of those stitches that looks effortless on the hanger—and punishes you the moment production control gets sloppy.
If you’re trying to improve pointelle knit durability, start by treating it like an engineering problem: structure + density + finishing + verification.
Because pointelle is intentionally “full of holes,” picking the best gauge for pointelle sweater durability isn’t just about fiber quality. It’s about whether your structure, stitch density, and finishing process are engineered to stop snags, prevent hole distortion, and keep measurements repeatable after wash and blocking.
This guide is written for small brands doing sampling → low-MOQ bulk, and it focuses on what you can actually spec and verify.
Key takeaways
For most everyday pointelle sweaters, 7–12GG is the durability “workhorse.” You get better stitch stability and fewer surprise distortions than ultra-fine openwork.
12–14GG can look more refined, but it’s less forgiving: tension drift, needle wear, and yarn instability show up fast.
WHOLEGARMENT can reduce seam-related weak points, but it doesn’t magically solve snagging. Your eyelet programming + stitch density + finishing checkpoints matter more.
“Anti-snag settings” are mostly about controlling floats, controlling hole size, and stabilizing edges—then proving it with a simple QC test plan.
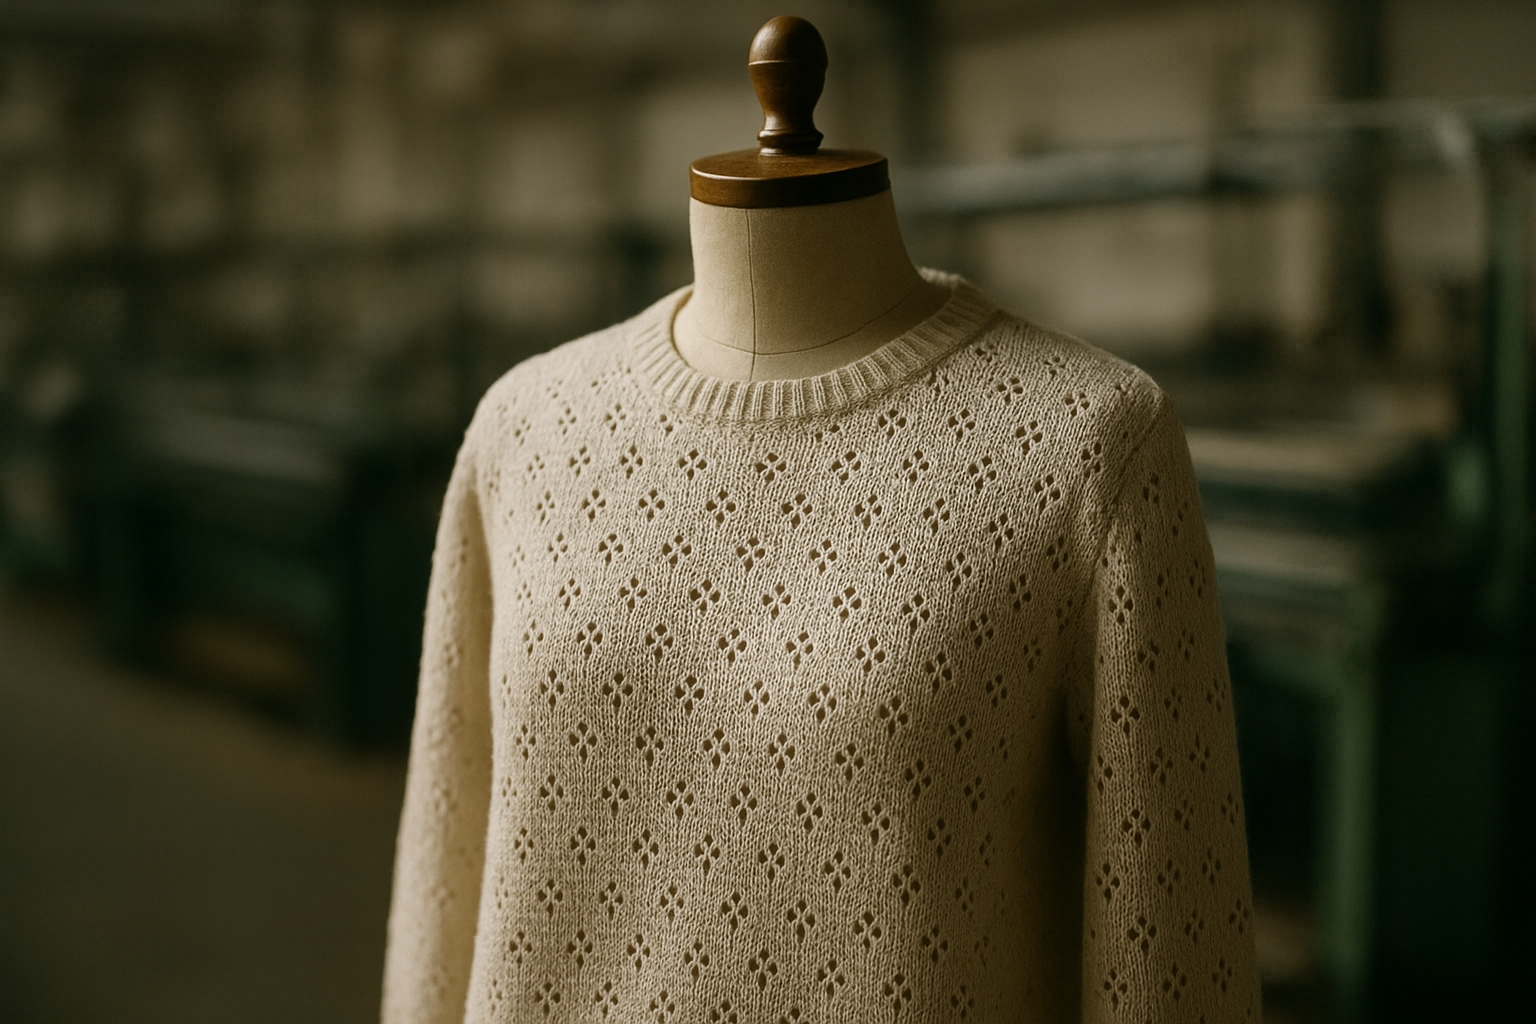
What makes pointelle sweaters fail in wear (and why it’s predictable)
Before you pick a machine or a gauge, anchor on failure modes. Pointelle durability issues are usually one of these:
Snagging and pulled loops: a loop bridges an eyelet and gets caught on jewelry, zippers, bags, or rough surfaces.
Hole distortion: eyelets grow unevenly after wash/blocking, especially when tension and yarn twist aren’t stable.
Dropped stitches / laddering: an openwork layout makes defects more visible; a small drop becomes a visible “run.”
Edge curl and seam stress: openwork panels can be stretchy and unstable at edges unless stabilized.
Knitwear factories flag openwork as high-visibility, high-sensitivity structures precisely because small inconsistencies turn into obvious defects. That’s why guides like Knitwear.io’s openwork knit manufacturing notes emphasize tension control, hole consistency checks, shrinkage verification, and needle-drop inspection.
What this means for you: If you don’t define the control points (density, edge stabilization, finishing checkpoints), “pointelle durability” becomes a subjective argument instead of a measurable spec.
Best gauge for pointelle sweater durability (7–14GG): what changes
Pointelle can be produced across a range, but 7–14GG is where most wearable sweater programs live. Knitwear.io’s openwork guide calls out 7–14GG for pointelle depending on pattern scale and stability needs.
Here’s how to use the range like a decision tool.
7–9GG: the durability-first band
Why it works
Thicker yarns + more “meat” around each eyelet can reduce pull-outs and keep hole geometry from growing.
Great for pointelle that’s more “textured sweater” than “delicate lace.”
How to spec it
Choose eyelets that are readable at lower gauge (bigger holes can become too open if your layout is aggressive).
Use stabilizing borders (rib or links-links) so the edges don’t curl or grow.
Failure mode if you push it too far
If the pattern is too open at 7GG, the sweater becomes snag-prone simply because the holes are large.
10–12GG: best gauge for pointelle sweater programs that need repeatable wear
Why it works
Balances drape and stitch stability for everyday wear.
Often the most efficient/available band operationally, while still giving clean pointelle definition.
Knitwear.io’s machine & gauge selection framework positions 7–10GG as the versatile commercial range, and pushes finer gauges into higher sensitivity and slower output.
How to spec it
Keep stitch density consistent across body and sleeves (pointelle + shaping changes can create density drift).
Use reinforcing structures where stress concentrates (armholes, shoulder line, neckline).
Failure mode if you ignore density
You’ll get “good looking” samples that grow or distort after wash/blocking—then bulk doesn’t match the approved sample.
12–14GG: refined look, tighter tolerance requirements
Why brands choose it
Cleaner, smoother hand-feel and a more premium visual finish.
Better for delicate patterns and luxury yarn programs.
What you must control
Fine gauges are more sensitive to tension variation, needle condition, and yarn stability. Even small drift can show up as uneven hole sizes.
Failure mode
A sweater that looks beautiful pre-wash, then comes back with uneven eyelets, skew, or unexpected growth.
Pro Tip: If you want a 12–14GG look but need better durability, don’t “fix” it with tighter care labels. Fix it with structure: slightly smaller eyelets, stabilized borders, and stricter finishing checkpoints.
WHOLEGARMENT vs fully fashioned knitwear for pointelle: how to choose without marketing bias
This isn’t “new tech vs old tech.” It’s two production architectures with different risk profiles.
Neutral machine/construction matrix (durability-focused)
Decision factor | WHOLEGARMENT (seamless) | Conventional (panels + linking/seaming) |
|---|---|---|
Seam-related weak points | Fewer seams can reduce seam bulk and stress points | More seams = more opportunities for seam distortion or stress if linking is inconsistent |
Pattern repeatability | Very repeatable when programming and yarn lots are stable; sensitive to setup | Repeatability depends on panel matching + linking consistency |
Repairability in sampling | Programming changes can be fast once the program is right | Panel adjustments can be straightforward for shape changes |
Openwork snag risk | Still driven by eyelet layout + floats + density (not eliminated) | Still driven by eyelet layout + floats + density |
Edge stability options | Often strong if edges are engineered into the program | Strong if trims and linking are done well |
Best-fit gauge band | Often shines in 12GG+ refined programs | Very strong in 7–12GG commercial programs |
Use this matrix as a starting point—not a verdict. Your biggest durability wins usually come from engineering choices that apply to both: hole geometry, stitch density, edge stabilization, finishing checkpoints.
What this means for you: If your returns are caused by snags and pulled loops, switching construction alone won’t fix it. You need to spec the “anti-snag” controls.
Anti-snag settings for pointelle: what to control (and what to write into a tech pack)
“Anti-snag” sounds like a single toggle. In reality, it’s a set of small controls that add up.
1) Control hole size consistency (eyelet geometry)
Why it matters In pointelle, the eyelet is the design. If hole size drifts, you don’t just get a durability issue—you get a visible defect.
How to implement
Use consistent transfer logic and avoid “too open” layouts on stress zones.
Maintain needle condition and set up routines for needle replacement (worn needles show up fast in openwork).
Monitor tension drift throughout knitting; openwork is less forgiving.
Failure mode Uneven eyelets + growth after wash/blocking → visual inconsistency and higher snag exposure.
Knitwear.io explicitly calls out QC checks for hole size consistency and needle-drop inspection for openwork. See their Lace, Mesh, and Pointelle Openwork Knits.
2) Control stitch density (not just gauge)
Why it matters Two sweaters can both be 12GG and behave completely differently if stitch length and take-down/tension create different densities.
How to implement
Approve by a measurable swatch (stitch density + wash/block results), not by “looks good on the mannequin.”
Treat stitch density targets as a spec to hold constant across sizes.
Failure mode Samples pass visually, bulk grows or distorts—especially at sleeves and body length.
3) Stabilize edges and stress zones
Why it matters Edges are where openwork shows distortion first: necklines, hems, cuffs, plackets, armholes.
How to implement
Add stabilized borders (rib, links-links, plated structures) around pointelle fields.
Reinforce stress zones with less open structure or tighter density.
Failure mode Curling edges, wavy seams, stretched necklines, distorted armholes.
4) Slow down and protect transfers (when the pattern requires it)
Why it matters Pointelle relies heavily on transfer movements. Faster isn’t better if it introduces yarn stress, missed transfers, or drops.
How to implement
Use conservative speed during complex transfer sections.
Keep yarn lots consistent (lot changes can shift tension behavior).
Failure mode Dropped stitches and laddering that become obvious because the structure is open.
Knitwear blocking standards for pointelle sweaters (the minimum you should require)
Many small brands treat blocking as “factory finishing magic.” Don’t.
Blocking is where you lock in measurement repeatability—and where openwork can either stabilize or distort.
A practical factory workflow is:
Panel inspection and trimming
Linking / assembly
First measurement
Washing
Blocking
Second measurement
Pressing
Final QC
That measurement + re-measure discipline is laid out clearly in Knitwear.io’s finishing and assembly workflow, and it’s exactly what you should reflect in your tech pack.
A blocking “standard” you can actually use
Specify the checkpoints, not just the outcome:
Measurement checkpoints: after linking, after wash + blocking.
Conditioning: garments measured under consistent, agreed conditions (same timing after blocking).
Openwork-specific check: eyelet/hole uniformity must be visually consistent after blocking (no stretched zones).
If you need a simple tolerance target to start negotiations, many factories treat knit shrinkage up to ~5% as an industry benchmark depending on fiber and construction, while brands often tighten that. The important part is not the number—it’s that you agree to a test method and lock it into approvals.
⚠️ Warning: Don’t approve pointelle by pre-wash size alone. Approve it by post-wash + blocked measurements, otherwise you’ll “discover” shrinkage and growth after you’ve already committed to bulk.
QC test plan: make durability measurable (without making it complicated)
If you only choose machine + gauge, you’re still guessing. The better move is to pair your choices with a short QC plan.
1) Snagging risk: define what “pass” looks like
Snagging is strongly influenced by structure and fiber behavior; open structures are inherently more exposed. A good starting explanation of why structure matters is this article on how fabric structure drives snagging risk.
For formal evaluation options, Testex’s overview of snagging resistance test methods can help you align on a method with your factory or lab partner.
2) Pilling: align on a method early
Pointelle customers won’t separate “snagging” from “wore out fast.” Pilling is part of the perceived durability story.
A practical way to spec this is to agree to a pilling method (and threshold) during development. Knitwear.io’s ISO 12945-2 Martindale pilling checklist is a solid framework for what to define: conditioning, cycles, grading approach, and where it fits in the approval flow.
3) Dimensional stability: tie it to your blocking checkpoints
Keep it simple:
Measure after assembly.
Wash and block to your agreed method.
Measure again.
Then decide which variances are acceptable—and treat anything beyond that as a rework trigger.
Next steps
If you’re building a pointelle program and want fewer surprises, the fastest path is usually:
Pick a target band (most brands start with 10–12GG unless they’re intentionally going chunky or ultra-refined).
Approve by post-wash + blocked measurements, not pre-wash size.
Lock in a short QC plan (snag + pilling + stability) before you scale colors and sizes.
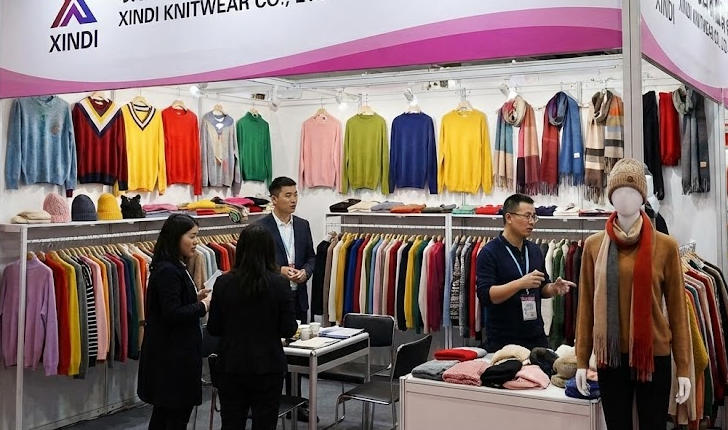
For a practical view of what fast sampling and repeatable bulk can look like, see Xindi’s quick sampling & capability overview.